
It was all–the continental drift reversing direction, the folding of rocks like ribbon pasta in the earth’s warm ovens–as challenging to belief as the most fantastic dogmas of religion, but accepted by everybody sane in the modern world. The weight of evidence accumulated all the time, like all those protective shells contributed by tiny creatures as keen to live, as self-important and ultimately insignificant as she. Alexandra’s relation to Nature had always puzzled her; she leaned on Nature, she learned from it, she was it, and yet there was something in her, something else, that feared and hated it.
The Widows of Eastwick
John Updike
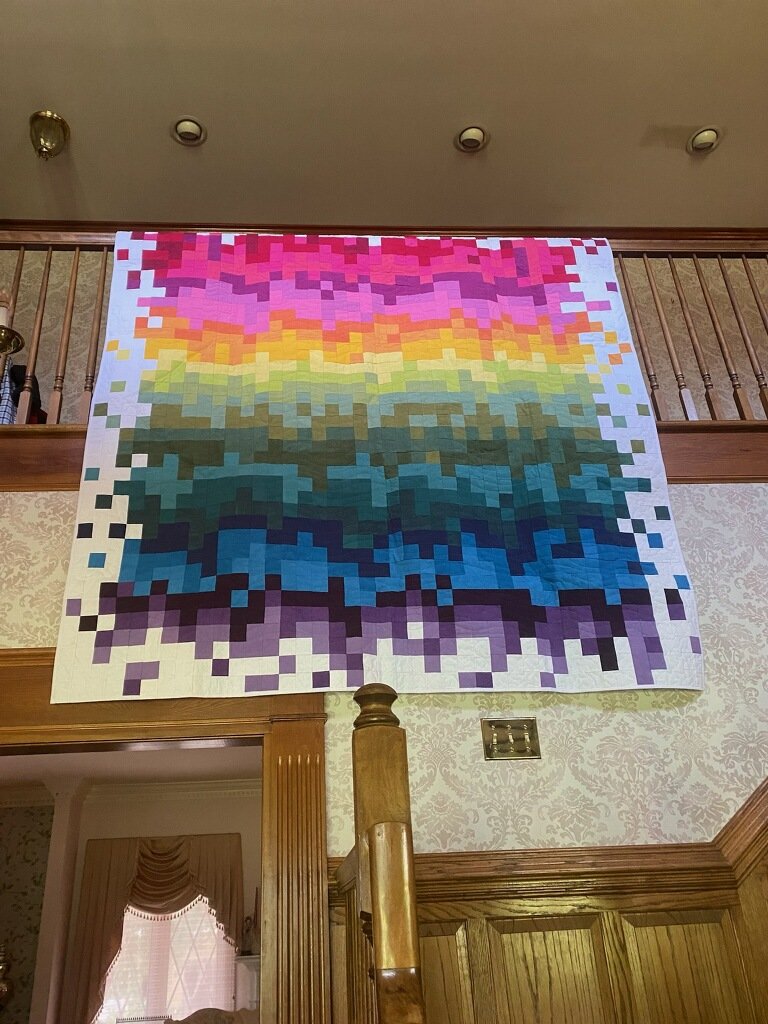
The quilt in its new home!
T-Shirt quilts and memory quilts are predominantly what I make in my custom quilt making business; however, I do have clients who want non-clothing related quilts made as well. Most recently I have been working on a special project for one of my quilt-loving clients. This particular client loves looking at quilts and enjoys having them in his home. He usually texts me and says, “Hey–what do you think of this quilt? Can you make something like this?” So far, I have been able to say a resounding “Yes!” to his queries, and I am never disappointed! He always brings me exciting, interesting ideas, and he loves to pick out fabrics, too.
His latest idea, besides a few clothing related projects and one dog quilt (Yes, a quilt for his dog.) is a pixelation quilt. I found the pattern Pixelated by Sedef Imer at www.lovepatchworkandquilting.com. But he had particular fabrics in mind, so I really designed the placement of the colors myself and pieced the top the way I wanted to piece it! I read through the pattern and the instructions are well done, and I think anyone could use their own scraps to create a similar quilt with that pattern.
I have to say, this quilt has taken me a long time! I’ve discussed my creative process here before, and this quilt needed some time to foment.
First, I ordered the fabrics from Cherrywood Fabric (https://cherrywoodfabrics.com/). I ordered several of their 12 step bundles and several yards of the solid white fabric, which gave me a good variety of colors to use along with the “background,” and they arrived bundled and bursting to be cut and pieced! I let the idea of the rainbow and the placement of the colors sit for a little while— the fabrics sat on my big studio table, so that I could see them everyday. I washed the fabrics and I began to plot placement. Dark to light? Rainbow order (ROYGBIV)? Or follow the inspiration picture? Light to Dark? Even before cutting anything, I moved fabrics around and organized them in different ways. Always the color pattern was slowly emerging in my mind.
Then I had to decide on scale—1” squares? 2” finished squares? How would I piece them? Do I want to use an interfacing foundation to expedite piecing? Plus I wanted to lay out the whole quilt before I began piecing it. So while my brain worked on the construction side of the quilt, I began to work on the cutting. I decided on 2” finished squares, so I cut all of the fabric I ordered. I used 1600 squares in the quilt top, and I had some left over from the layout—I cut extra to make the layout easier. Luckily, I could stack and whack. I stacked a family of fabrics together up to eight layers and cut strips and then squares. Those piles of colored squares were so satisfying!
I decided using an interfacing foundation for the piecing would also be beneficial for working on the layout. I could lay out the squares of interfacing, which is already marked with 2.5” squares, and then lay out the squares. Then the interfacing squares could be carefully stacked. The layout would be easy to maintain through piecing that way. I also labeled the interfacing squares with numbers on the back, so that I could better keep them in order, too. I used twenty-five interfacing squares, with sixty-four two inch finished squares in each. Each row had five interfacing squares, so the quilt finished at 80”x80” with a total of 1600 two inch squares!
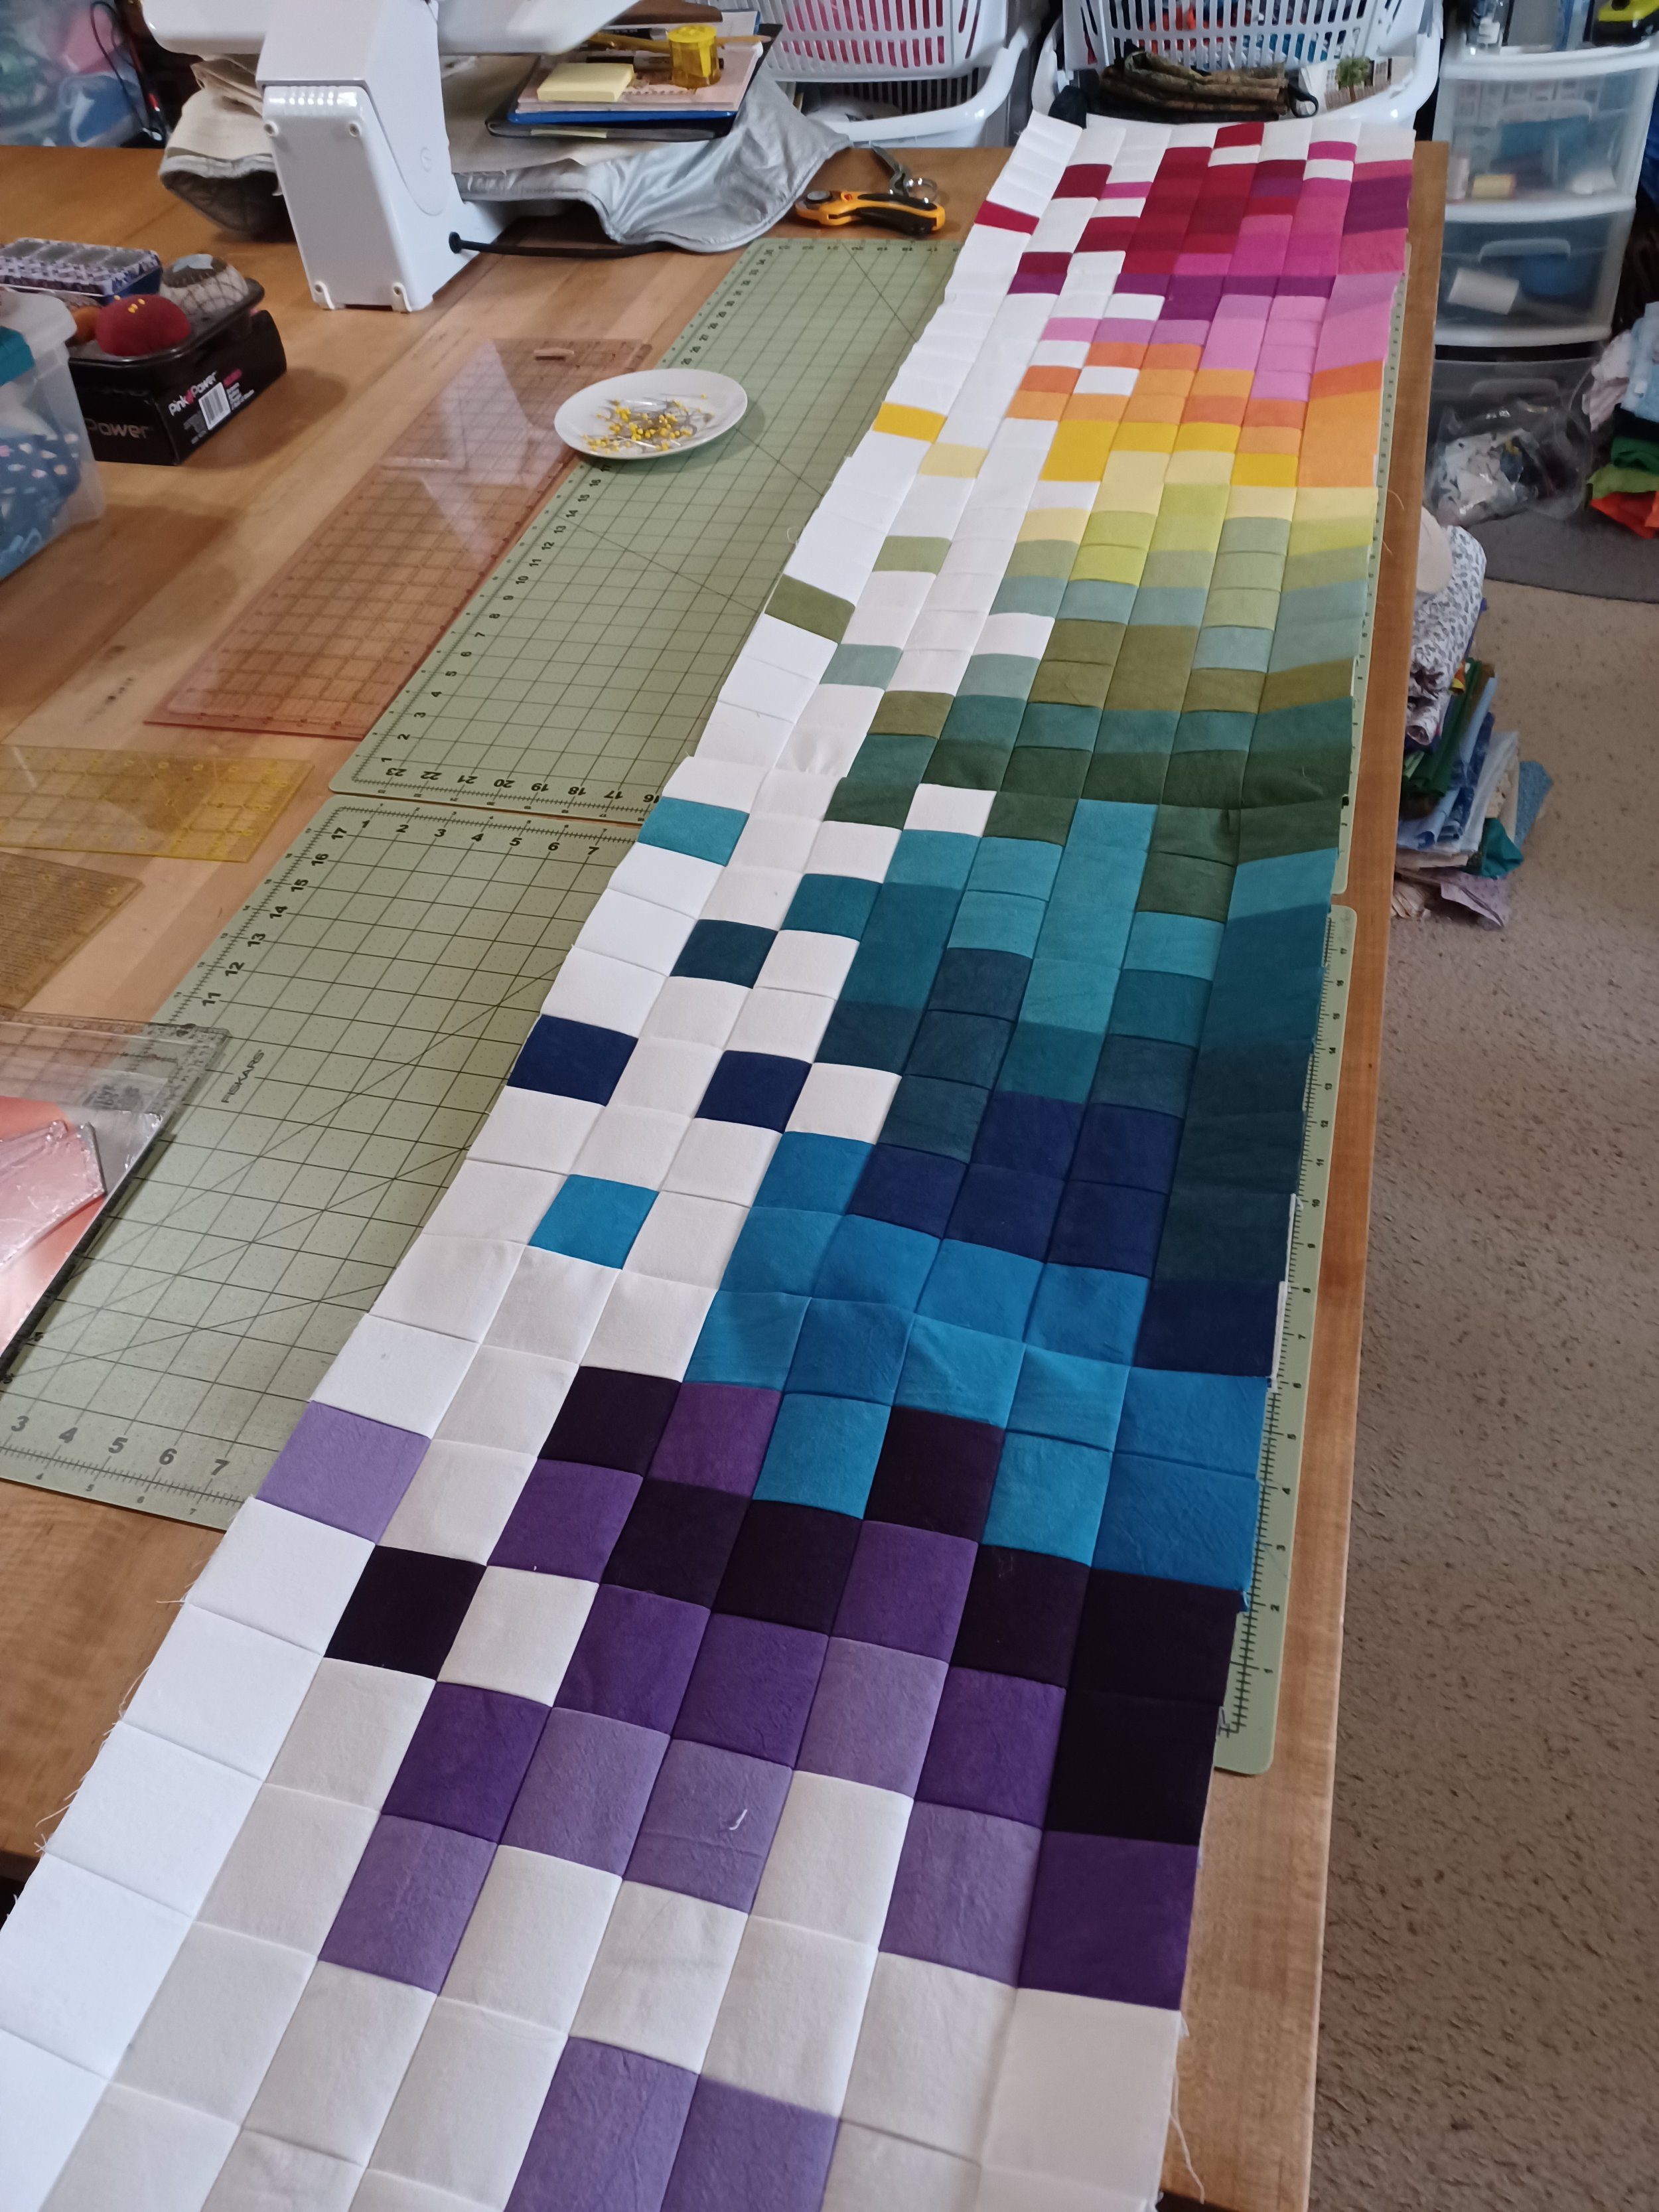
One row…
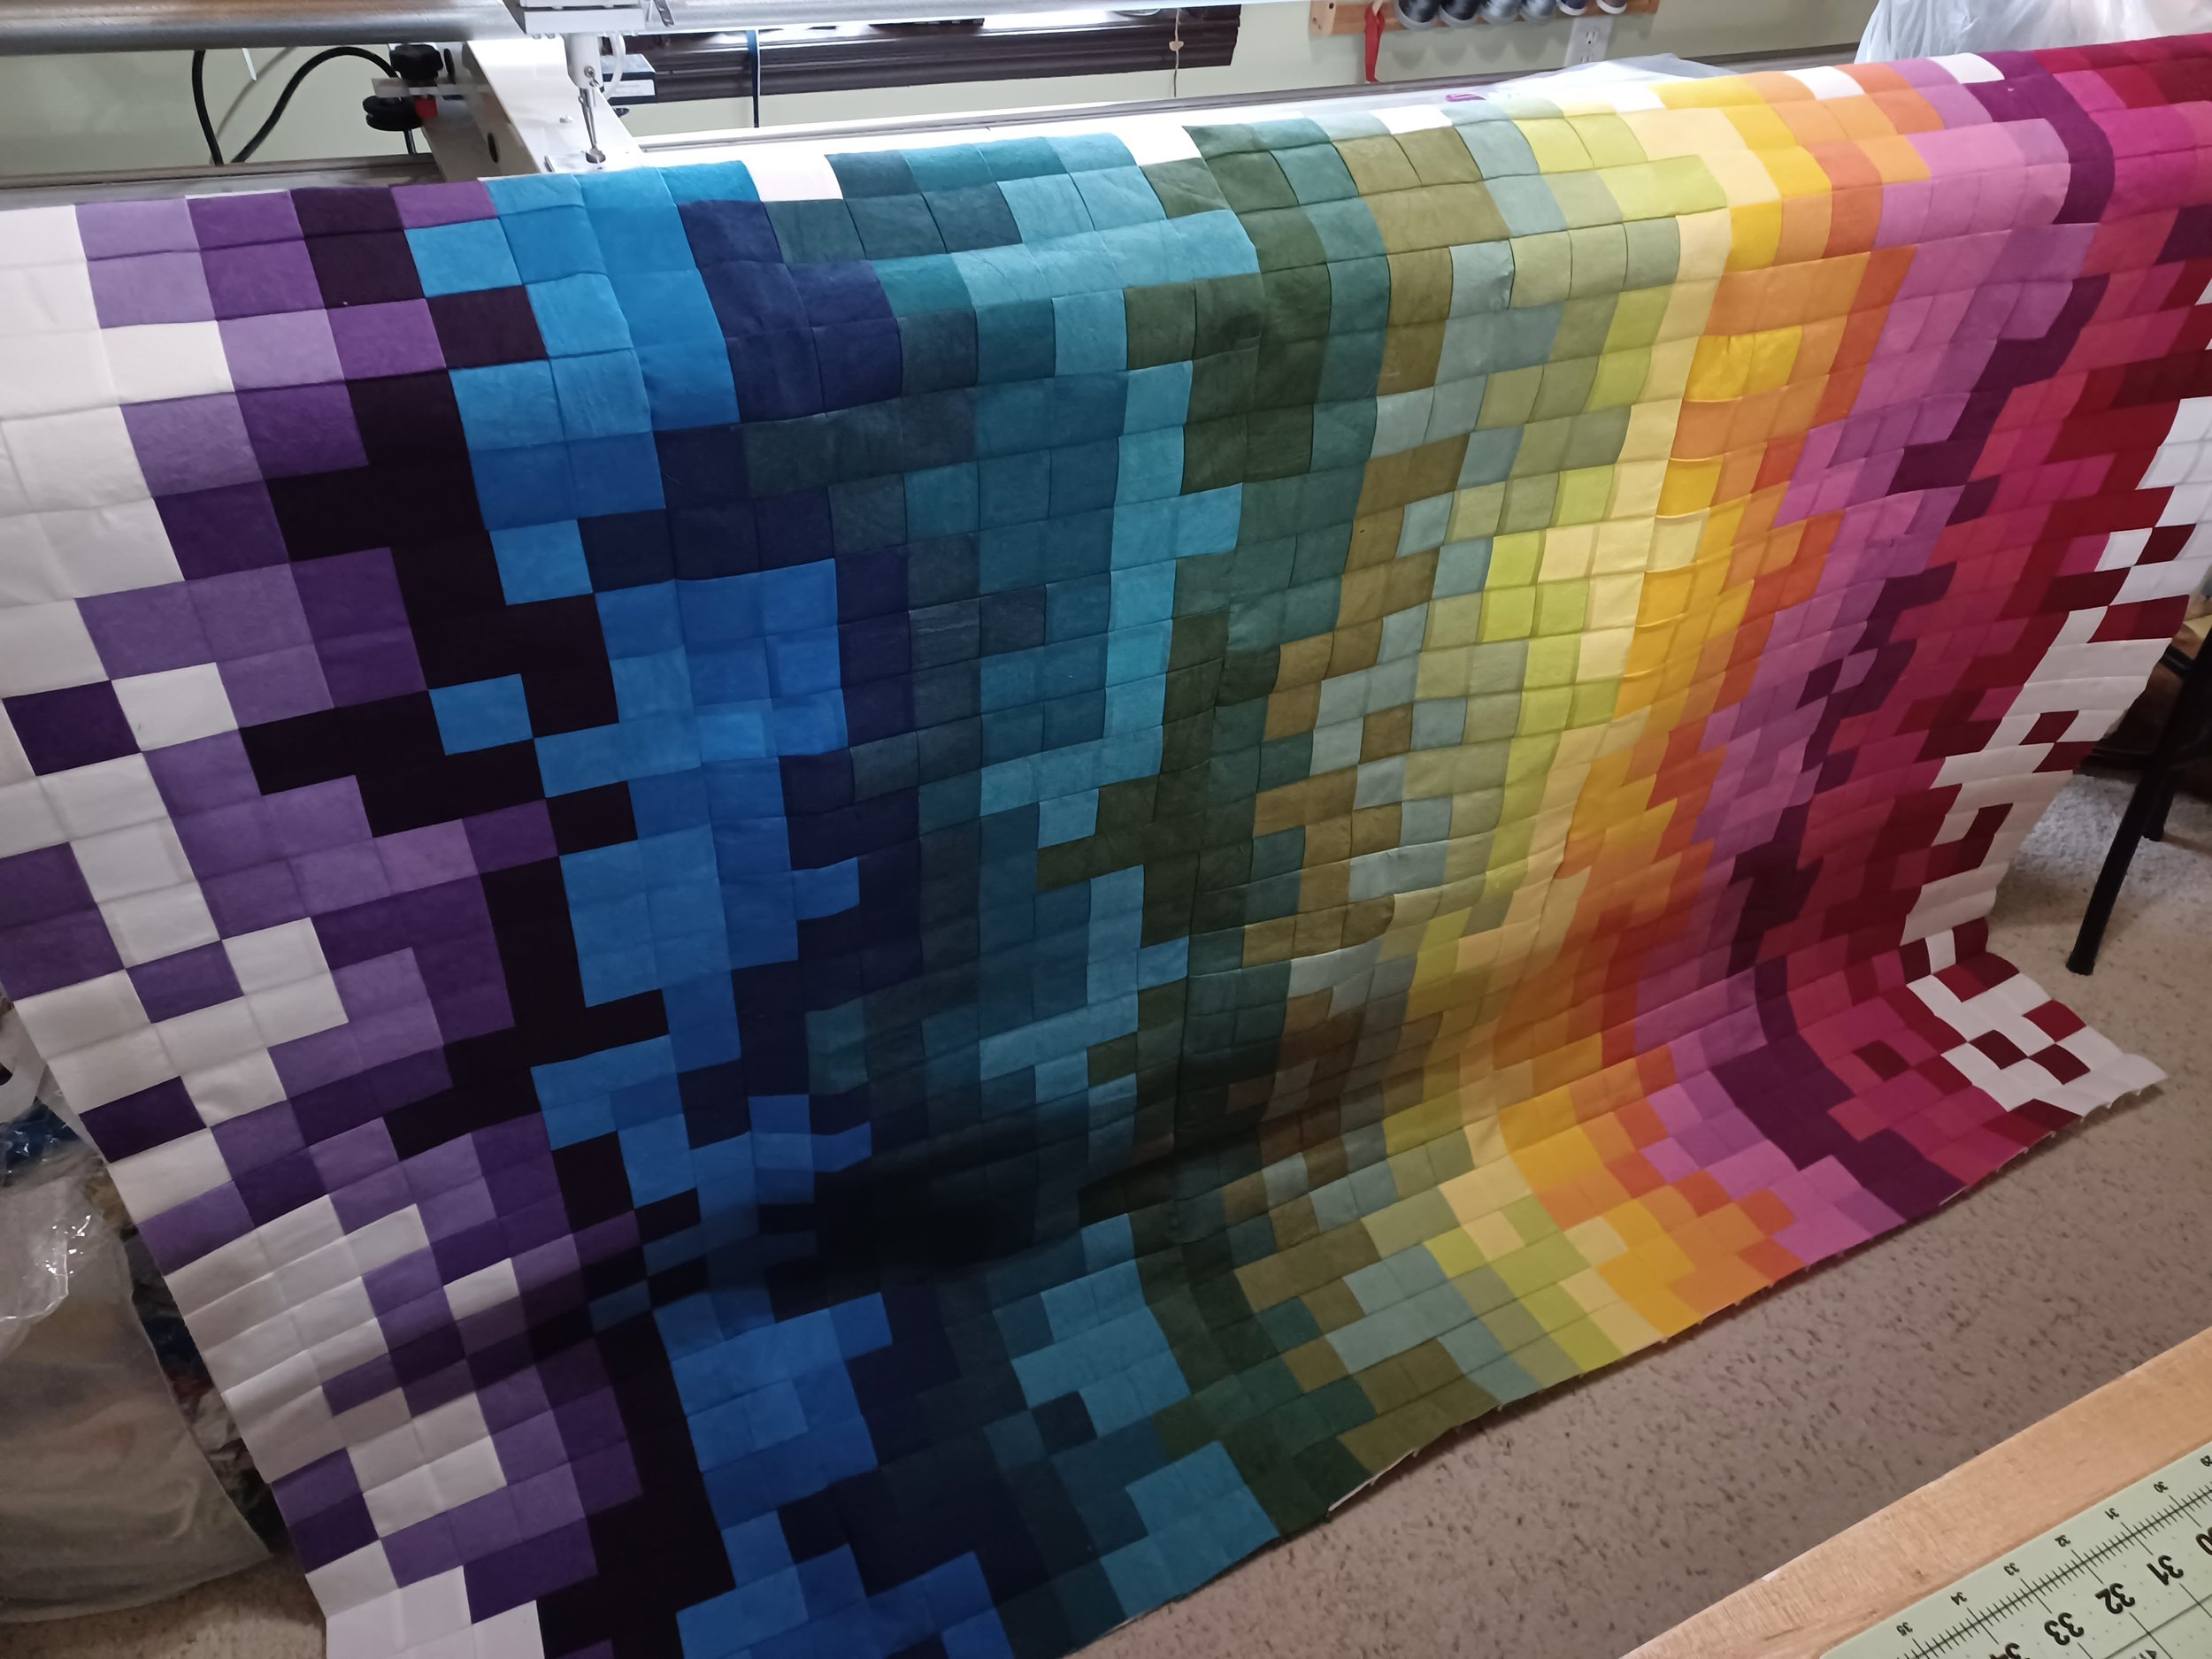
After I worked on the layout and the steam pressing, (I am lucky enough to have a steam press, which made this process so much easier!) I began piecing the quilt top. The sewing of each interfacing square took less time then sewing individual squares together, but it still took me several weeks to piece while I was also working on other bits in the studio. The result is well worth the labor, though; the finished top is stunning!
I used Kona White 108” Wide for the back, and I spent some time trying to decide how to quilt it. Did I want to change threads? Would one color of thread suffice? How dense did I want the quilting? What quilting design would best compliment the pixels? I finally settled on a lovely wavy lines quilt design, and I decided to match thread to the colors in the quilt top. I used corresponding colors in the bobbin, so that the back has a rainbow pattern, too.
Needless to say, I am so pleased with this quilt, and my customer is beyond excited. He sent me a picture of the quilt hanging over his upstairs railing, and it is even more beautiful in its home!
Do you have a quilt you have been dreaming about? Let me know in the comments below!
Sending Quilting Love,
Ginger
Coming Next Time: Maybe Elongated Stars?
I am Reading: I have been reading The Foundation Series by Isaac Asimov…I have finished the first three books, and I finished The Widows of Eastwick by John Irving. I am reading Crying in H Mart by Michelle Zauner at the recommendation of my oldest son. I am also reading several nonfiction pieces and the New Yorker Magazine. What are you reading?